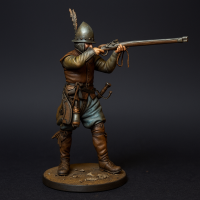
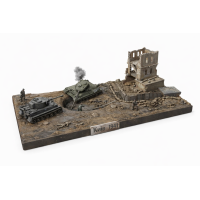
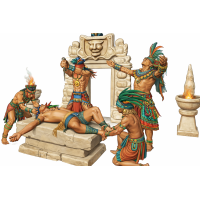
.png "HistorSTL — STL Files for 3D Printing Historical Miniatures: Warriors & Military Models")
Step-by-Step Guide: How to Paint a Historical Miniature with Acrylics
Historical miniatures are more than just small figures — they are a bridge to the past. Painting them with care brings history to life. Acrylic paints are the most popular choice due to their fast drying time, versatility, and ease of use.
Step 1. Preparation
-
Remove mold lines and excess resin/plastic.
-
Wash the miniature with mild soap to eliminate grease.
-
Ensure all fragile parts are firmly attached.
Step 2. Priming
Priming ensures the paint adheres properly:
-
White primer for bright tones, black for darker styles.
-
Apply in thin coats to preserve details.
-
Airbrush primers work best, but brushes are also fine.
Step 3. Base Colors
-
Paint the main sections: skin, armor, clothing.
-
Apply in several thin layers for a smooth result.
Step 4. Shading and Highlighting
-
Dry brushing: highlight raised areas.
-
Washing: create natural shadows in recesses.
-
Layering: smooth transitions between tones.
Step 5. Detailing
-
Focus on eyes, hair, accessories, and weapons.
-
Add weathering effects for realism (scratches, worn fabric).
Step 6. Finishing Touches
-
Seal the miniature with matte or gloss varnish.
-
Create a scenic base with stones, grass, or sand.
Pro Tips
-
Always paint in a well-lit area.
-
Thin your paints with water for smoother coats.
-
Patience is key — take your time.
-
Use historical references for accurate colors.