.png "HistorSTL — STL Files for 3D Printing Historical Miniatures: Warriors & Military Models")
How to Make a Scythian Pectoral with Your Own Hands: From an STL File to Gold Plating
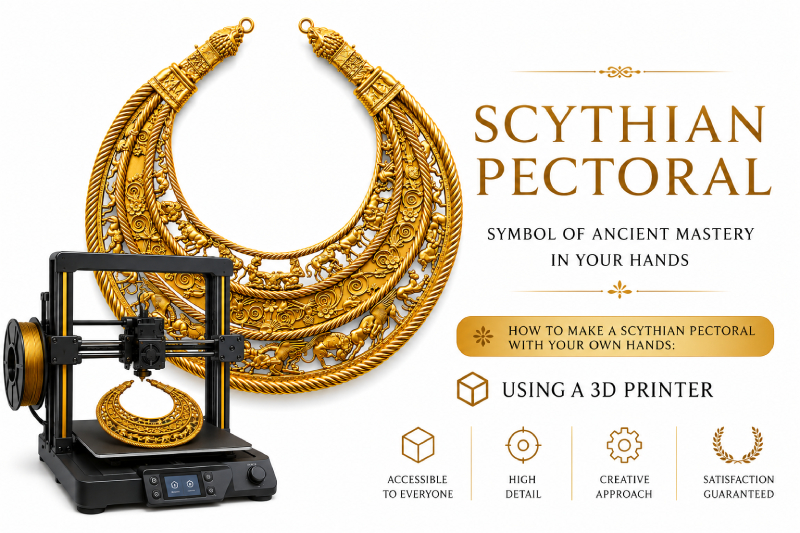
The Scythian Pectoral from the Tovsta Mohyla burial mound is an outstanding example of Greco-Scythian art from the 4th century BC. It was discovered on June 21, 1971 by Ukrainian archaeologist Borys Mozolevskyi during excavations of the Tovsta Mohyla mound near the city of Pokrov, formerly Ordzhonikidze, in the Dnipropetrovsk region of Ukraine.
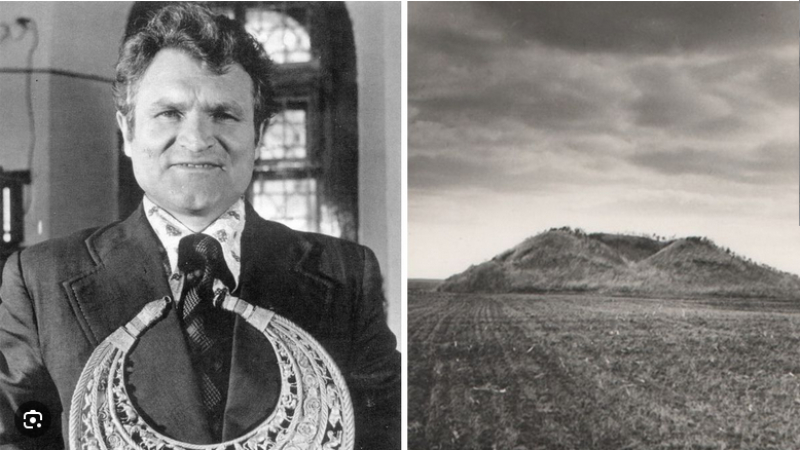
Interestingly, the mound had already been looted in ancient times, and archaeologists long believed that all valuables had been lost. However, Borys Mozolevskyi continued the research and discovered a hidden burial niche that the ancient robbers had missed. It was there that the famous golden pectoral was found — one of the greatest masterpieces of Scythian art.
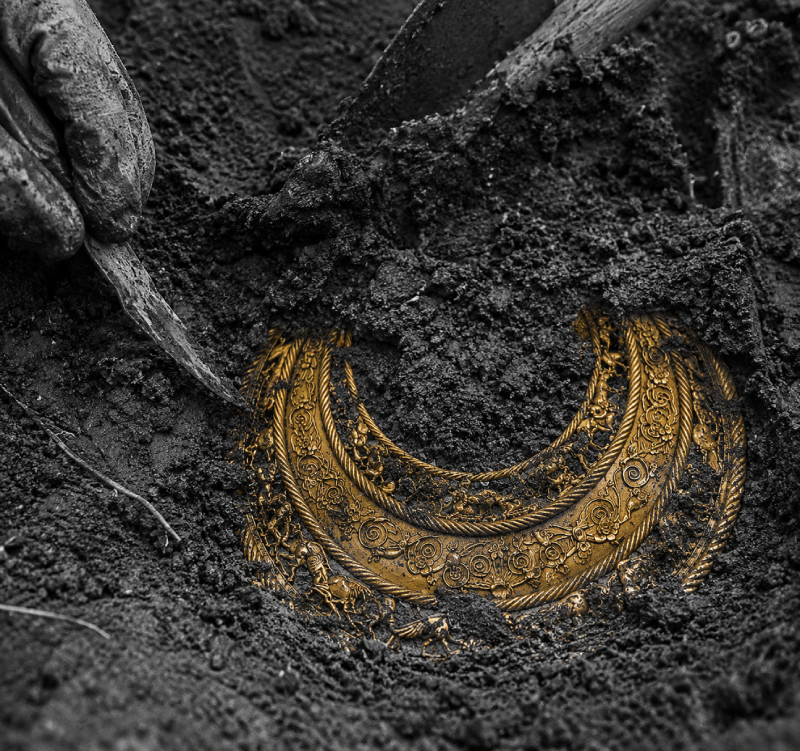
Today, the original Scythian pectoral is kept in the Museum of Historical Treasures of Ukraine in Kyiv. It is one of the museum’s most valuable exhibits and a symbol of Scythian gold from Ukraine. The pectoral is displayed in a special protected showcase with controlled temperature, humidity and lighting.
Were copies of the pectoral made?
Over the decades, many versions have been created, including:
museum copies;
jewelry replicas;
plaster casts;
galvanic copies;
artistic reconstructions.
Copies were made for:
museums;
exhibitions;
scientific research;
historical reconstructions;
educational displays.
Some replicas were made with a high level of accuracy according to the original dimensions and even with gold imitation.
How copies were made in the past
Before 3D scanning appeared, the following methods were used:
silicone molds;
plaster casts;
manual sculpting;
jewelry embossing;
electroforming.
Because of the extraordinary value of the original, access to it has always been strictly limited, so making accurate copies was a complex and expensive process.
Today, thanks to modern technologies, you can make your own replica of the Scythian pectoral: download the STL file, print the model on a 3D printer, assemble it, cover it with gold leaf imitation and place it in a decorative frame.
Using a highly detailed STL model, an Anycubic 3D printer and professional post-processing, we managed to reproduce the appearance of the legendary pectoral from the Tovsta Mohyla mound as accurately as possible.
What you need to make the pectoral
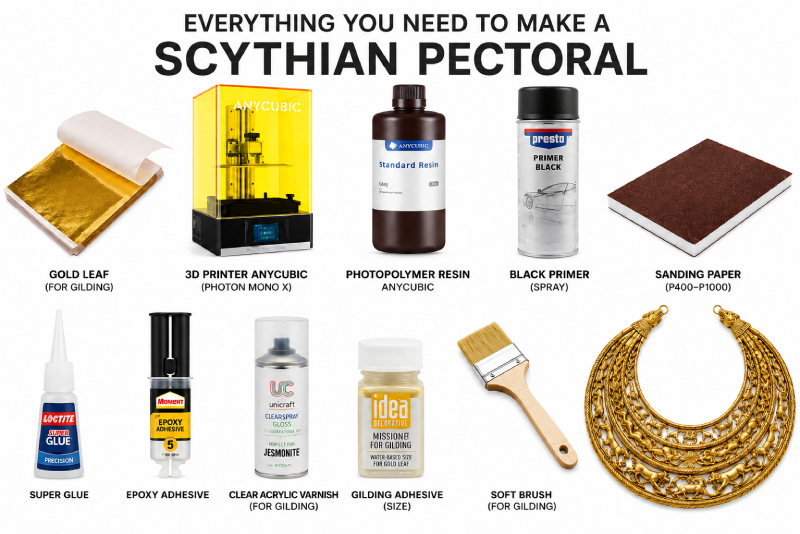
Equipment and materials
Anycubic Mono X2 3D printer;
gray photopolymer resin;
slicer software (Anycubic);
P400–P1000 sandpaper;
black primer;
adhesive for imitation gold leaf;
gold leaf imitation;
protective varnish.
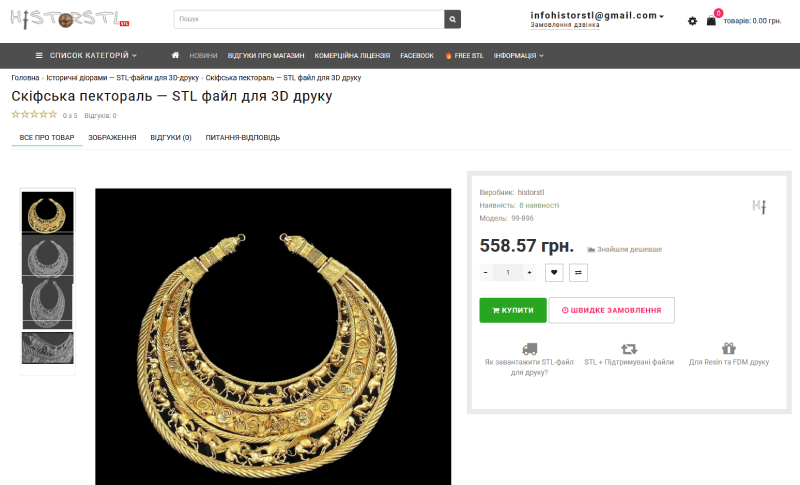
Step 1. Purchasing the STL file
The first step is to purchase a ready-made 3D model of the pectoral. The Scythian Pectoral STL file is already prepared for printing and contains detailed elements of the ancient Scythian ornament.
Advantages of the ready-made model
high level of detail;
historical style;
compatibility with resin and FDM printers;
scaling to any required size.
After payment, the file becomes available for instant download in the buyer’s personal account, which is created automatically when the order is placed.
Important
The files include:
a complete one-piece model of the pectoral;
a version divided into parts for later assembly.
This makes it possible to create a large model, for example, around 290 mm in diameter.
When scaling, it is important to consider the build volume of your 3D printer.
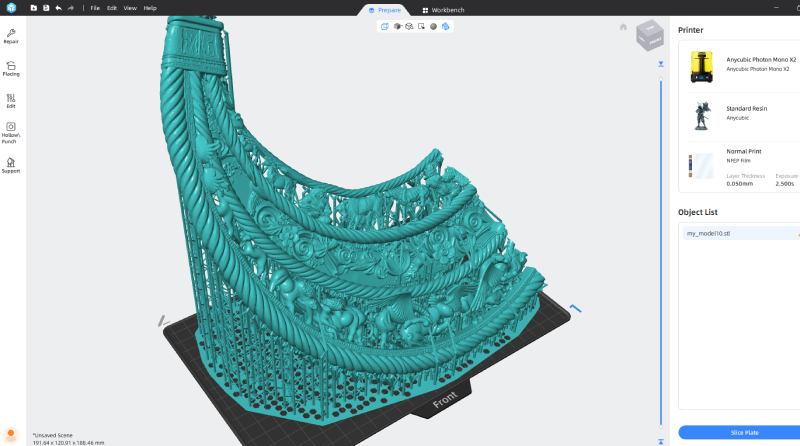
Step 2. Printing the pectoral
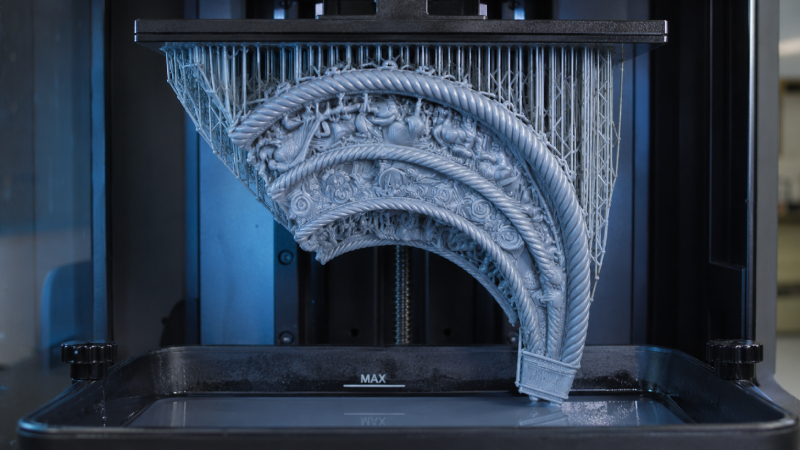
In our case, the model was printed on an Anycubic Mono 2 3D printer using gray photopolymer resin.
Resin printing makes it possible to achieve maximum detail in small figures and ornaments.
Printing a pectoral with a diameter of 290 mm requires about 430 ml of photopolymer resin.
Printing recommendations
print preferably at an ambient temperature of 20–30 °C;
shake the resin thoroughly before use;
after printing, carefully remove the model from the build plate;
carefully remove the supports.
Wash in water and dry. We used the Anycubic Wash & Cure 3.0.
Step 3. Gluing the pectoral parts
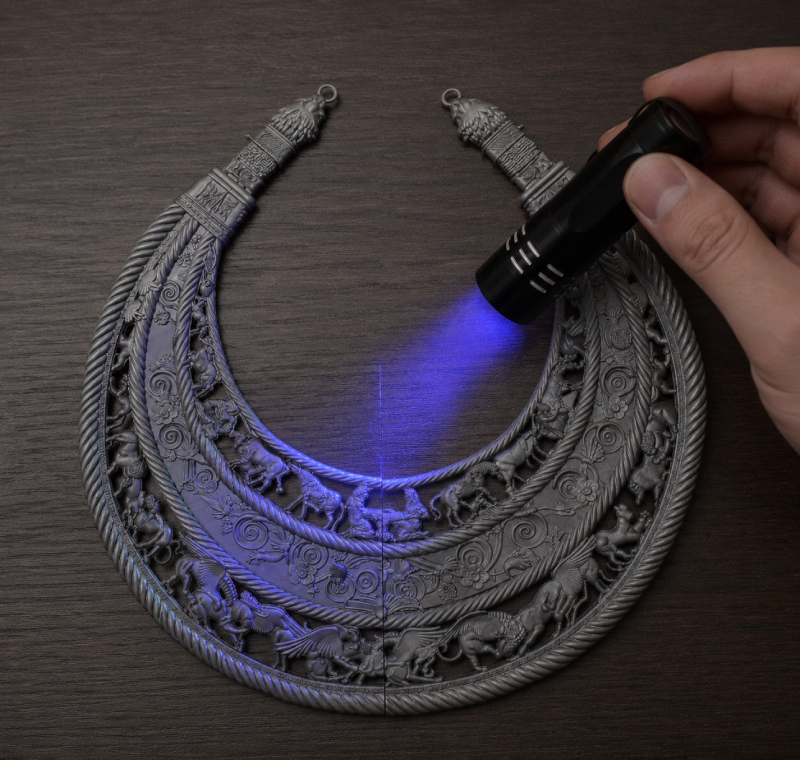
After printing, all elements must be carefully joined together.
How to glue the parts correctly
Dry-fit the parts first.
Sand the edges with sandpaper.
Use super glue or epoxy adhesive.
We used liquid photopolymer resin and cured the joints with a UV flashlight.
Step 4. Sanding the surface
Before painting, remove:
layer lines;
support marks;
glued joint areas.
Sanding sequence
P400 — rough sanding;
P800 — leveling;
P1000 — final preparation.
The better the surface is prepared, the more impressive the gilding effect will look.
Step 5. Applying black primer
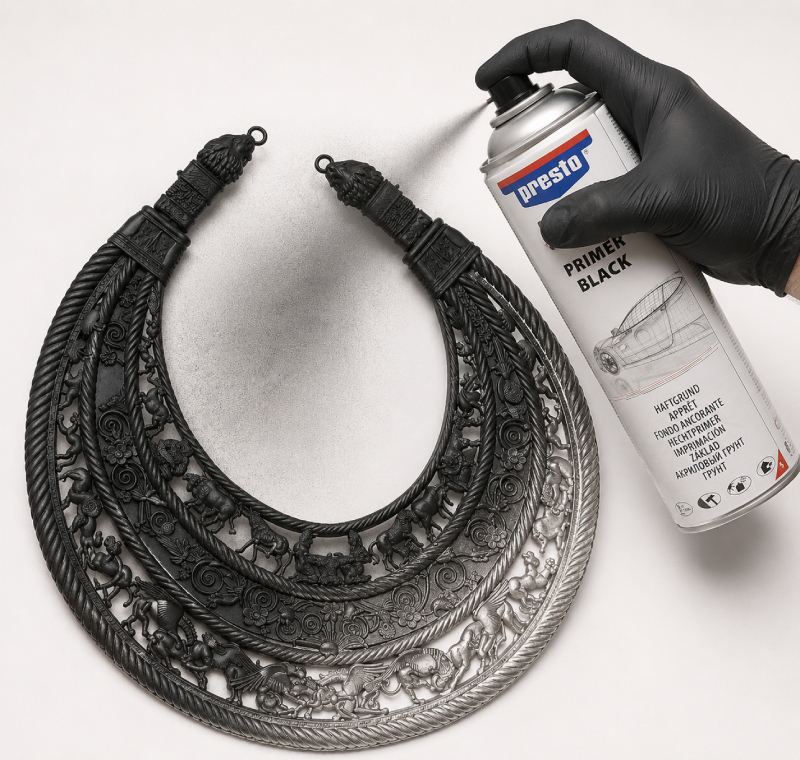
Black primer creates a deep base under the gold and enhances the contrast of the relief.
How to apply primer
It is best to use an acrylic spray primer.
We used Presto Primer Black 500 ml and were satisfied with the result.
Recommendations
Apply:
2–3 thin coats;
with drying time between coats;
avoiding drips.
The black base helps create the effect of antique gold.
Step 6. Applying imitation gold leaf
This is the most impressive stage of the work.
What is imitation gold leaf?
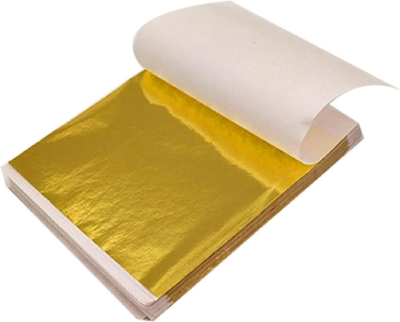
Imitation gold leaf is a very thin decorative material that imitates genuine gold leaf.
We used gold-colored imitation leaf purchased in advance.
Gold leaf application technique
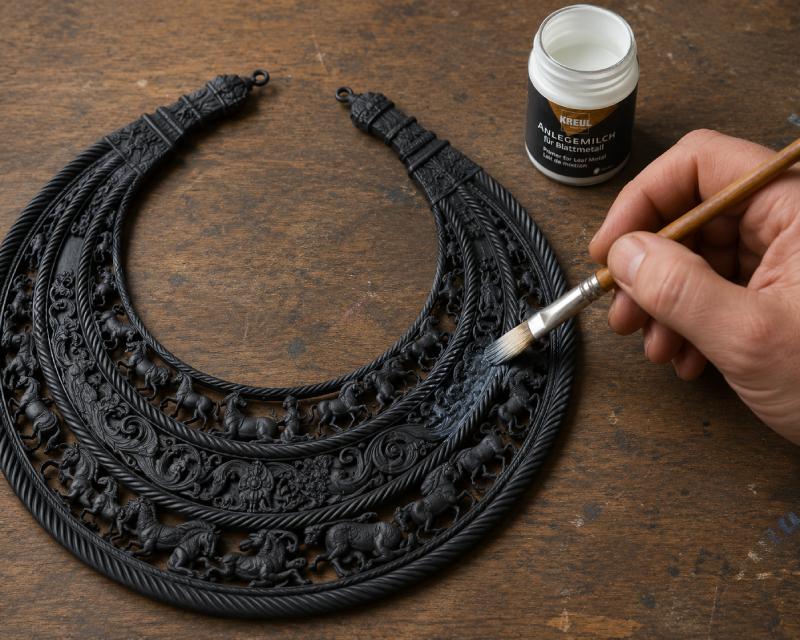
Apply special adhesive to the pectoral surface.
Wait about 15 minutes until the adhesive becomes slightly tacky.
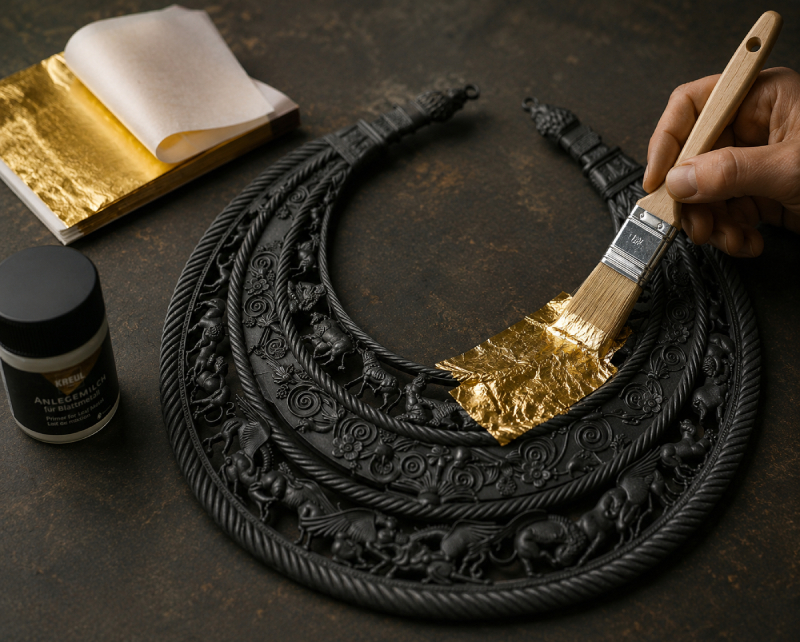
Place sheets of imitation gold leaf onto the surface.
Using a dry soft brush, gently press the leaf with light tapping motions.
Remove the excess material.
Important
Due to the large number of small details, some areas may remain uncovered. In this case:
cut the imitation leaf into small pieces;
use tweezers and a thin brush;
carefully cover all problematic areas.
After full coverage, allow the surface to dry completely.
For hard-to-reach areas, you can use gold-colored paint and a thin brush.
Step 7. Protective varnish
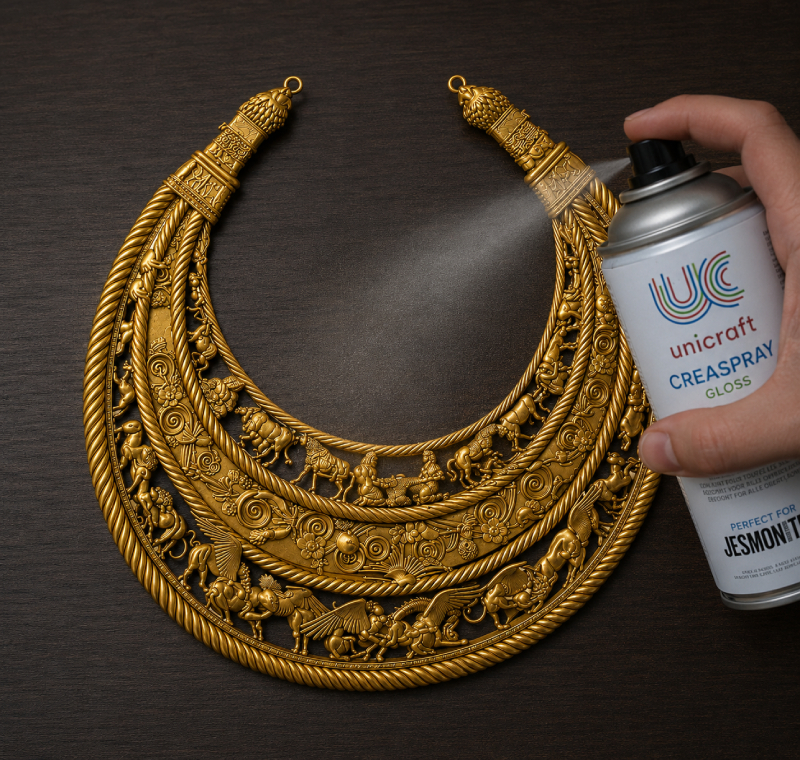
The final layer is needed to protect the surface and preserve the decorative effect.
Which varnish to use
Suitable options include:
acrylic matte varnish;
satin varnish;
clear polyurethane varnish.
What protective varnish provides
protects the imitation gold leaf from abrasion;
prevents tarnishing;
gives the surface a finished look.
It is best to apply varnish in 2–3 thin coats with drying time between layers.
Result
Thanks to modern 3D printing technologies, anyone can now create an impressive replica of the legendary Scythian pectoral at home.
The combination of a high-quality STL model, resin printing, careful post-processing and imitation gold leaf coating makes it possible to achieve an impressive result that resembles a museum artifact.
This project can become:
a unique interior decoration;
an excellent gift;
a collectible item;
a decoration for a historical display.
Most importantly, it is an opportunity to touch the great heritage of ancient Scythian culture with the help of modern technologies.
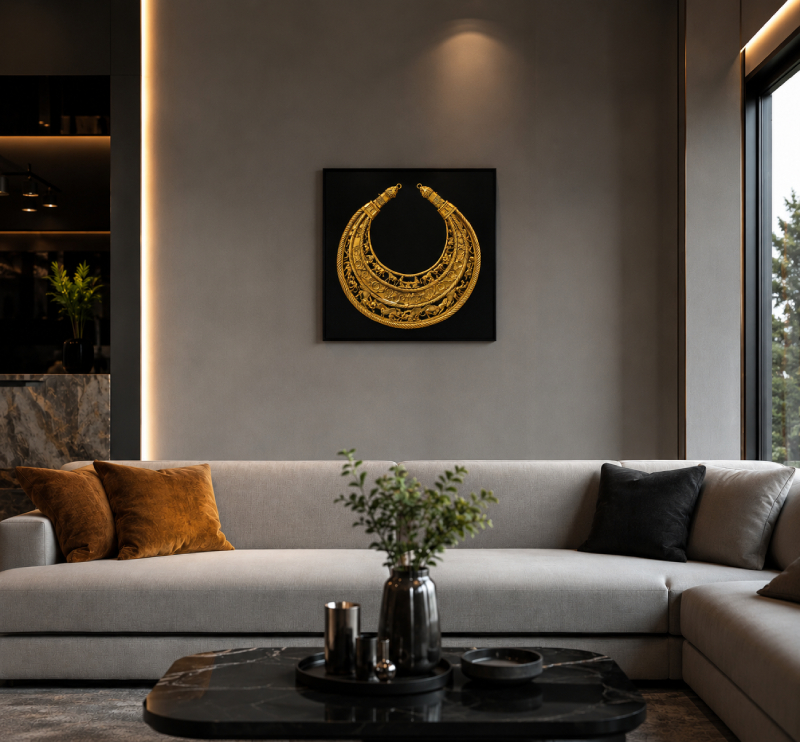
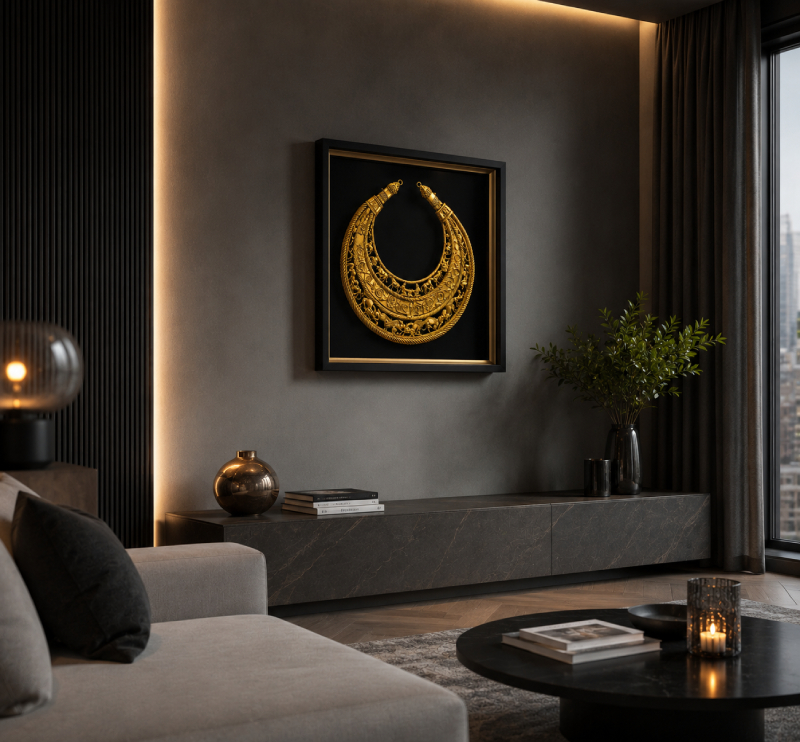
And here is the final version!